Latest Updates
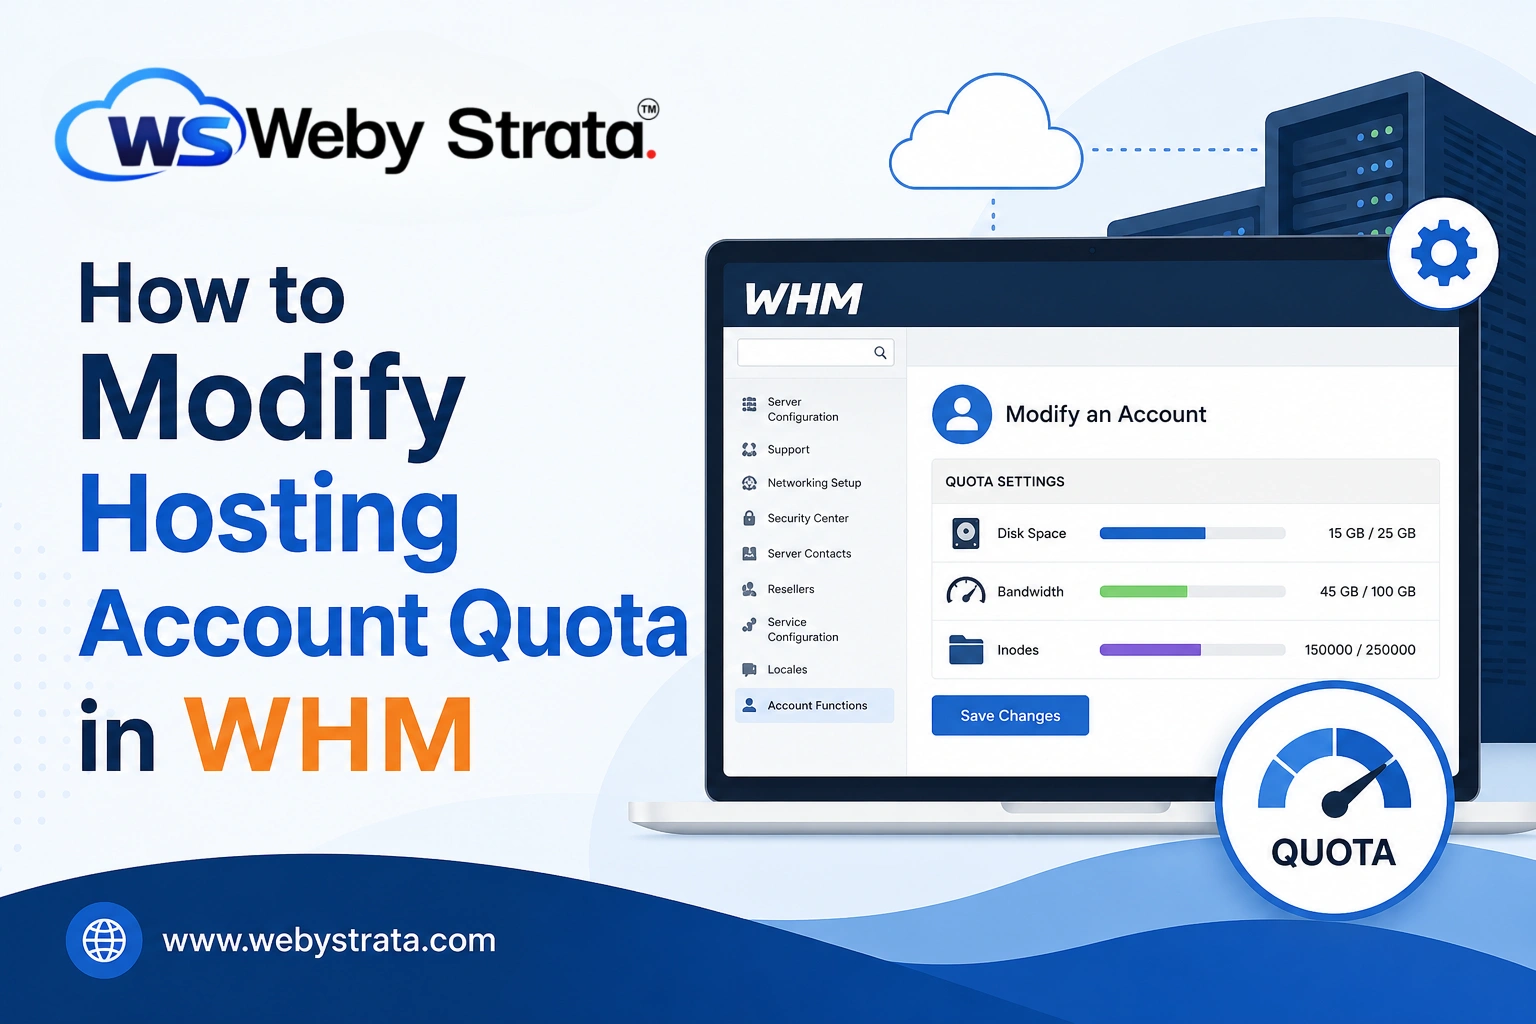
How to Change IP Address of a Site in WHM?
How to Change IP Address of a Site in WHM? Managing a website on a WHM server often requires administrative tasks such as changing the IP address assigned to a hosting account. Whether you…
How to Change IP Address of a Site in WHM?
Managing a website on a WHM server often requires administrative tasks such as changing the IP address assigned to a hosting account. Whether you are migrating services, improving server management, or assigning a dedicated IP, WHM provides a simple way to update the website’s IP address. In this guide, you will learn how to change the IP address of a site in WHM quickly and safely.
To Change the IP Address of a Site in WHM
Step 1: Log in to WHM
Access your WHM account using root credentials.
Enter your WHM username and password to log in.
Once logged in, you will see the WHM dashboard with all server management options.
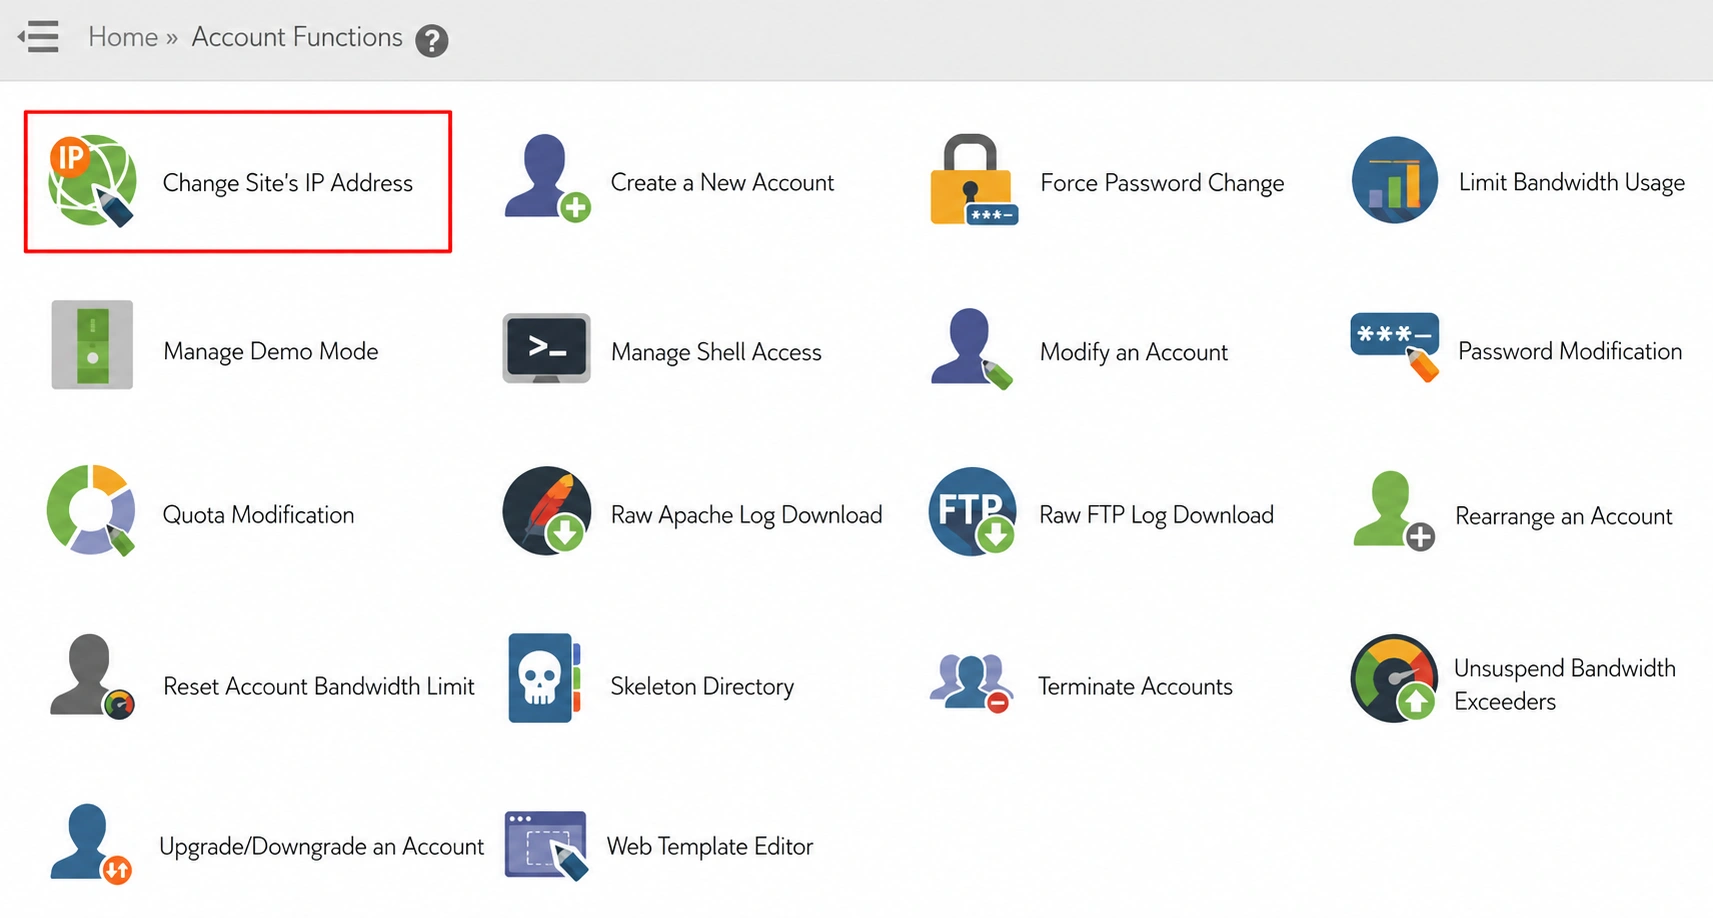
Step 2: Open Account Functions
From the left-side navigation menu, search for or select Account Functions.
This section contains tools for managing hosting accounts and their settings.

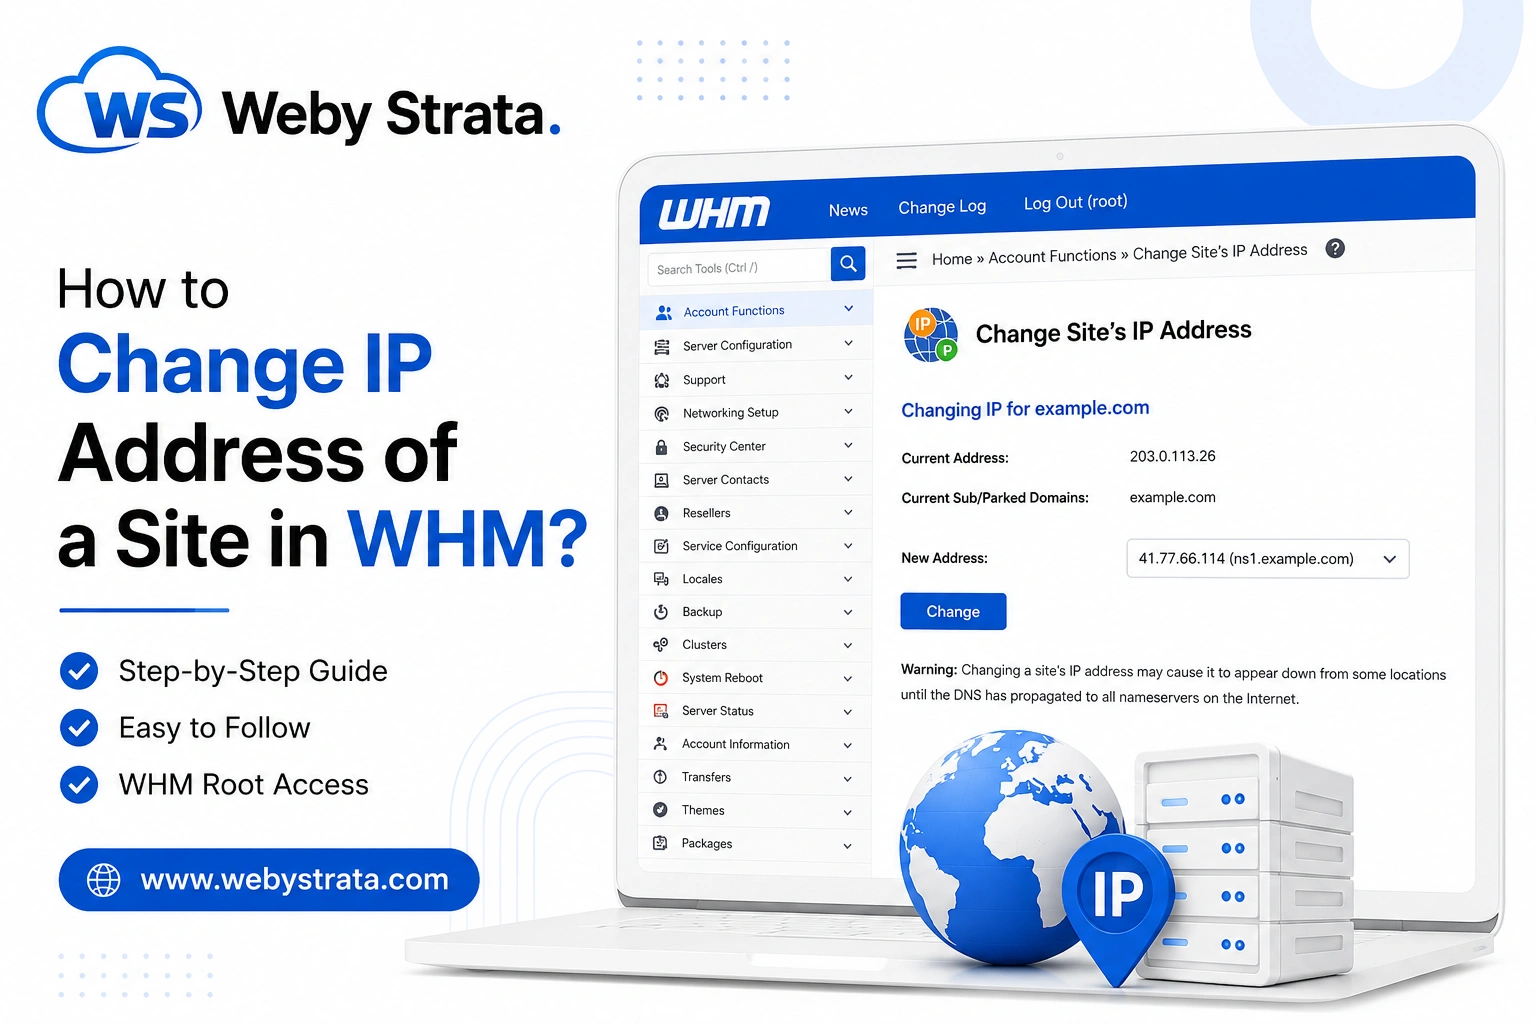
Step 3: Click on Change Site’s IP Address
Under Account Functions, click Change Site’s IP Address.
The Change Site’s IP Address interface will open, displaying details such as:
- Current IP Address
- Associated Domain Name
- Current Subdomains
- Parked Domains
Step 4: Select a New IP Address
Locate the New Address dropdown menu.
Choose the new IP address you want to assign to the website from the available IP addresses on the server.
After selecting the desired IP address, click the Change button.
WHM will process the request and assign the new IP address to the selected hosting account.

Verify the Changes
Once the IP address has been updated:
- Check the account details in WHM.
- Verify that the website resolves correctly.
- Update DNS records if required.
- Allow time for DNS propagation if changes affect public DNS records.
Conclusion
Changing a site’s IP address in WHM is a straightforward process that can be completed in just a few clicks. By navigating to Account Functions → Change Site’s IP Address, selecting a new IP, and confirming the change, administrators can efficiently manage hosting accounts and server resources.
Originally published on WebyStrata.com Blog.
Related Articles